How to Plan Socket and Switch Locations Around Furniture and Daily Use
Quick answer Plan socket and switch locations once you know where the furniture will sit, which devices you use and how you enter each room. Mark where you need to plug in, disconnect a device or turn on a light. Then check the elevations to see whether the wall plate will sit above a desk, beside a headboard or behind a cabinet. Give the electrical team your appliance list and manuals so they can confirm locations, connections and circuits before cabinets are made or walls are closed.
Start with moments you can picture. You charge a phone before bed, leave a monitor plugged in at the desk and reach for the lights when you come home. These routines tell you where an outlet or switch will be easiest to reach once the room is furnished.
Start with the devices and furniture layout
Use the latest floor plan to mark activities such as charging a phone, working, watching TV or making coffee. List what stays plugged in, what you use occasionally and which devices you use together. Identify data connections and signal routes separately from power. Discuss which spots may need to accommodate an extra device or a change in furniture layout.
Before marking positions, confirm the size and location of the bed, sofa, desk, cabinets and appliances. Include door and cabinet swings. If an appliance model is pending, mark that point as provisional. This makes it clear when the dimensions, connector, cord and installation manual still need to be checked.
Scroll the table sideways to see what to share with the design team.
| Location | What to tell the team | What to check on the drawings |
|---|---|---|
| Bedside | Chargers and lamps used on each side | Headboard, table height and reach from the bed |
| Desk | Monitor, computer, lamp and network connection | Adapter space, cable route and access |
| TV wall | Screen, media box, speakers and equipment inside the cabinet | Mounting bracket, connector clearance and access for replacement |
| Kitchen and laundry | Appliance models and portable countertop devices | Wet and hot areas, installation manuals and service access |
| Doorways and corridors | Where you enter and which lights you need to control | Door swing, cabinet edges and switch labels |
Place switches along the routes you use

Walk through the sequence of arriving home, setting your things down, moving to the sofa and leaving the room. Where would you reach for the first switch? If an open door or a tall cabinet interrupts that movement, discuss the location while the wall layout is still flexible. For a household with different ages or reach needs, invite each person to try the position from where they normally stand or sit.
Write down what each button controls, such as the entrance light or the display shelf lights. If you want to turn a light on at the door and off from the bed, record both control locations and let the electrical team select the control arrangement. Use the guide to ambient, task and accent lighting when deciding which lights to group.
Check bedside wall plates on the elevation
The plan tells you which wall to look at. The elevation shows how the wall plate lines up with the headboard, wall grooves and bedside table. Draw the furniture at its actual planned size and check whether a drawer or object on the tabletop will block the connector. Check each side of the bed against the devices that person uses.

Elevation H on sheet IA-F3 at IDEO Q36 shows the wall plate position relative to the headboard and furniture. The bedside photograph shows the plate in the wall panel above the table. Use the same comparison to ask whether a lamp or phone on the tabletop would leave room to plug and unplug a cable. For another worked example, see our guide to reading interior plans and elevations.
Allow space for connectors at desks and TV walls

At a desk, list the devices that remain connected and the ones you move regularly. Check where the adapters will sit, whether drawers can open and whether you can reach the connectors with the monitor in place. If cables are meant to pass through cabinetry, ask the cabinetmaker and electrical team to agree where the openings and access points will be before fabrication.
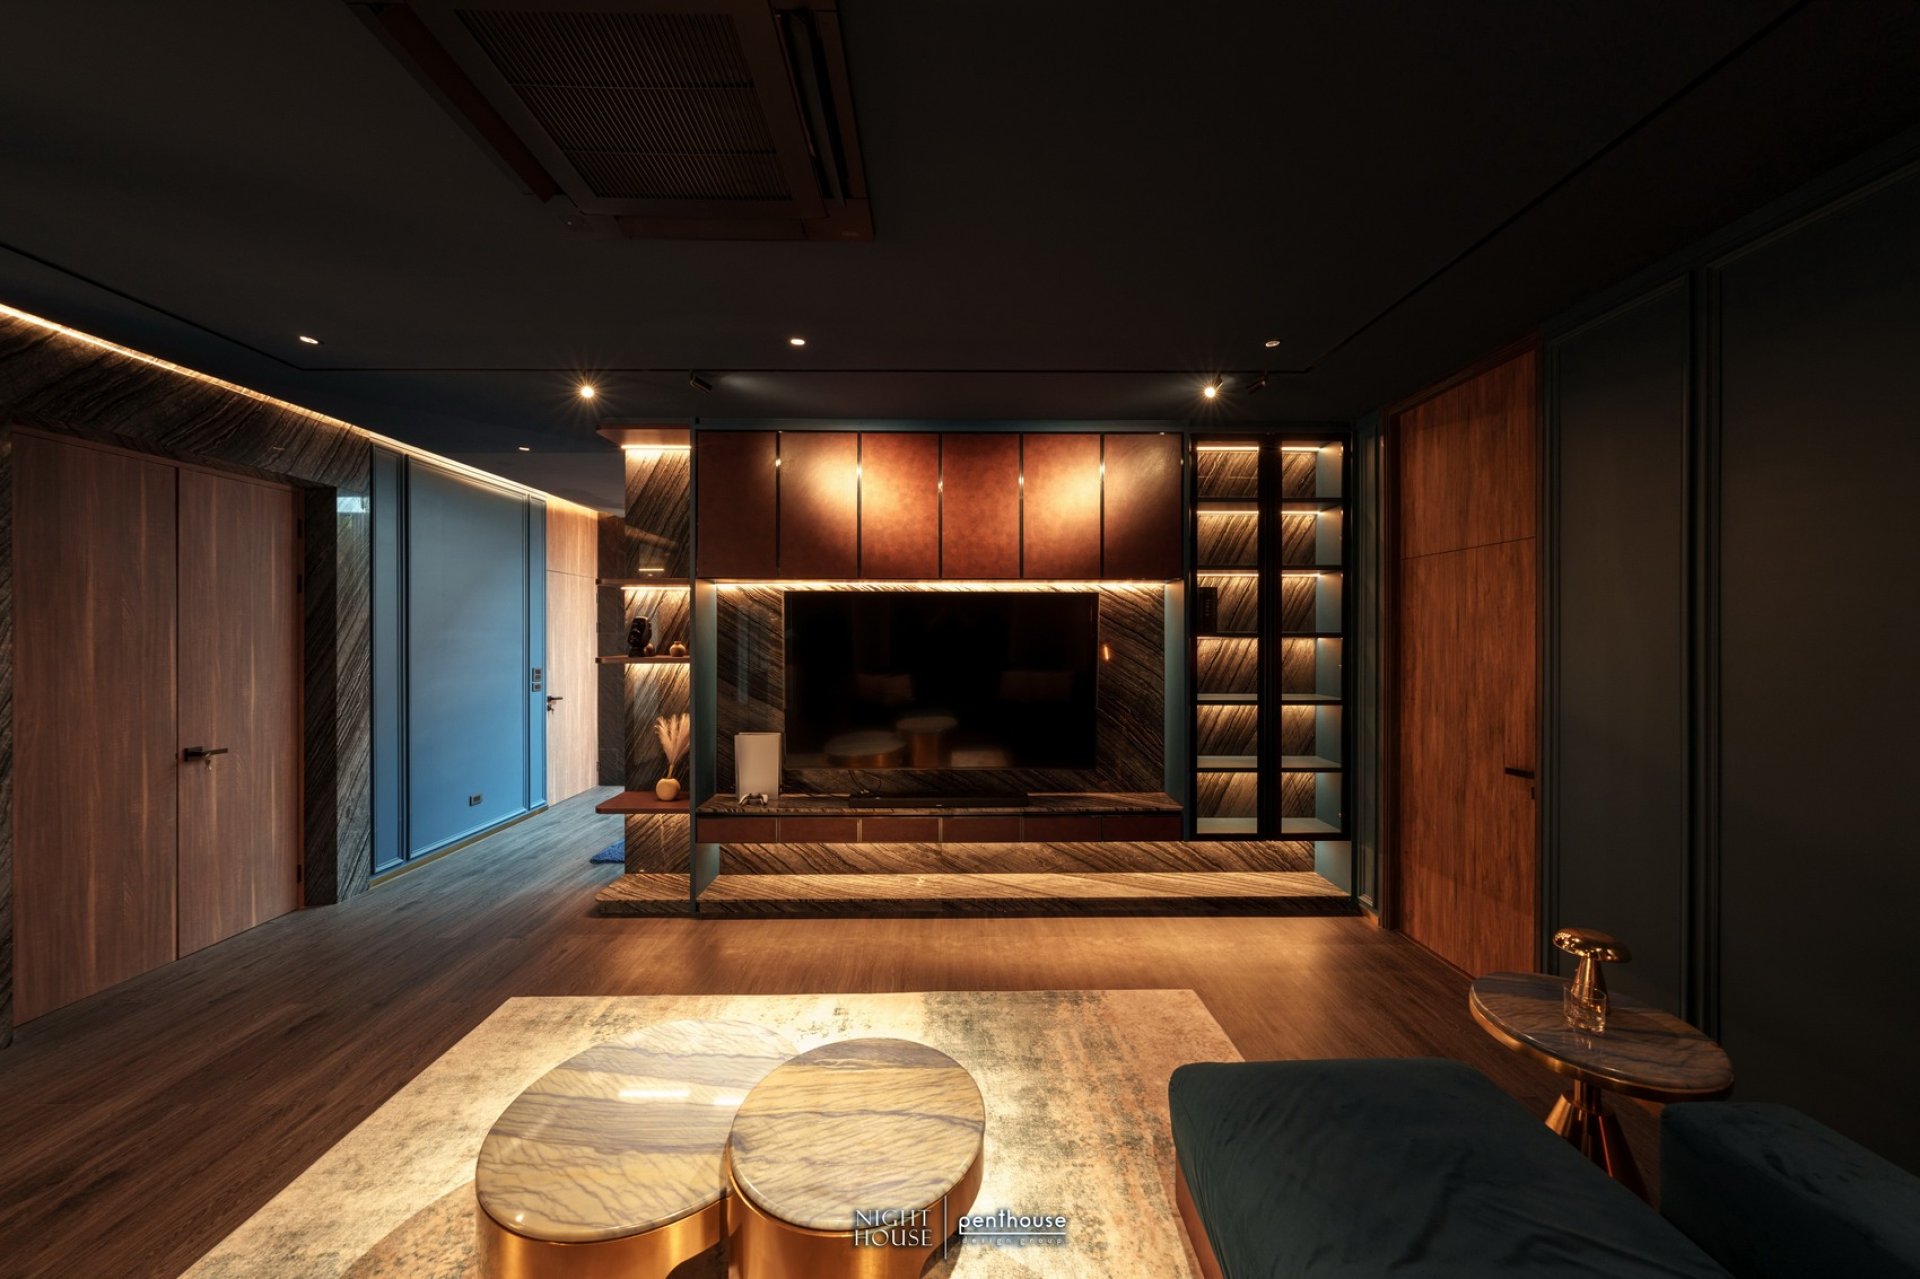
For a media wall like the one at Night House, review the screen, mounting bracket and equipment in the cabinets together. Ask for an elevation that shows the connection points in relation to the bracket and shelves. Picture replacing a media box or taking the screen down. The installer should confirm the space needed for plugs, adapters and signal connections and how to reach them for service.
Use the actual appliance models for kitchen and laundry planning

List fixed appliances such as the fridge, oven, water filter and washing machine separately from portable countertop devices. Share each model's installation manual so the team can check connection requirements and access once the unit is in place. Note which appliances you often use together. Gathering equipment information and expected operating patterns is part of the design process described in Schneider Electric's Electrical Installation Guide.
Mark the sink, splash areas, heat sources and cabinets that might be difficult to access. Ask the responsible electrical professional to check the applicable standards and the manufacturer's instructions before finalising locations. Thailand's Metropolitan Electricity Authority advises using experienced installers and following appliance instructions. If you are still deciding where the sink, hob and prep area will go, start with the home kitchen layout guide.
Review the plan before cabinets go into production

- Compare the current plan, elevations, appliance schedule and cabinet drawings.
- Give each point a reference and record which device or group of lights it serves.
- Review wall plates against the headboard, countertop, drawer runners, mounting brackets and door swings.
- Use a mock-up or removable tape on site to check where you would walk, reach, plug in and remove an appliance for service.
- Have the electrical team confirm final locations, circuits, protection and building requirements. Update the drawings that the installation and cabinet teams will use.
A useful review note might read Window wall desk, point for the monitor and lamp. Check the adapter and cable access with the drawer closed. If the desk moves or the monitor changes, share the new information against the same point reference so the team can locate it on the drawings.
Frequently asked questions
How high should sockets and switches be?
Start from finished floor level and the planned furniture height. State which part of the wall plate the drawing dimension refers to. Have the electrical team confirm the applicable clearances and conditions, especially near water or heat.
How many sockets do I need in each room?
List the devices you use at the same time and distinguish permanent connections from occasional use. Ask the team to confirm the number of points and circuit requirements from the equipment information and site conditions.
Can sockets go behind a TV or inside a cabinet?
Check the connector, cable, bracket, heat and service access with the installer using the actual model. If removing equipment would require dismantling joinery, discuss an access opening or an alternative location before fabrication.
What should I prepare when moving sockets in an existing condo?
Share the original plan, photos of existing points, the proposed changes and any appliance manuals. Ask the team to survey the existing installation and check building management requirements before they agree the drawings and work method.
Plan electrical points alongside the interior design
For a home or condominium project, share the location, project type, approximate area, rooms in scope, target timing and budget range if available. Include a floor plan and any appliance models you already know. Share your brief with Penthouse Design Group to discuss the scope of interior design and coordination.
Explore interior design services and fee information, or browse Penthouse Design Insights for related guides.